Getting started
The concept of working with a static site generator using the terminal or console might be new to you, but I'll do my very best to guide you through the process.
In order to get started with Jekyll, please have a look at the official Jekyll website first.
It basically explains everything you’ll need to know how to install Jekyll on your system accordingly.
Don’t be afraid of the terminal or console by the way, it’s really not as difficult as it might seems at first sight. I’ll do my very best to guide you through rest of the theme setup process afterwards.
Please feel free to send me an email to hello[at]indiqo.eu at any time if you should get stuck or have problems — I’ll see what I can do in order to help you out.
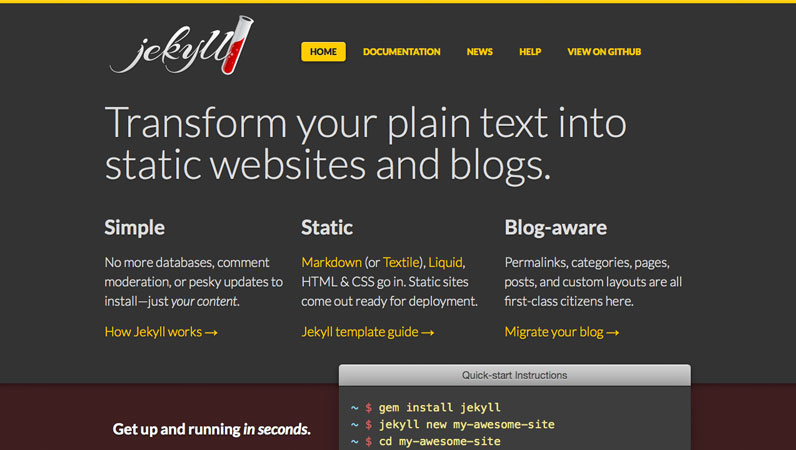
Jekyll Website
The documentation includes everything you need to know to install Jekyll — it's an excellent reference too
Visit WebsiteNow that you got the latest version of Jekyll, it’s time to build our first website.
In order to do that, you’ll have to extract the theme archive first to a directory of your choice. Depending on your operating system, an unarchiver might be preinstalled already or you can use applications like WinZip for Windows or Archiver for OSX.
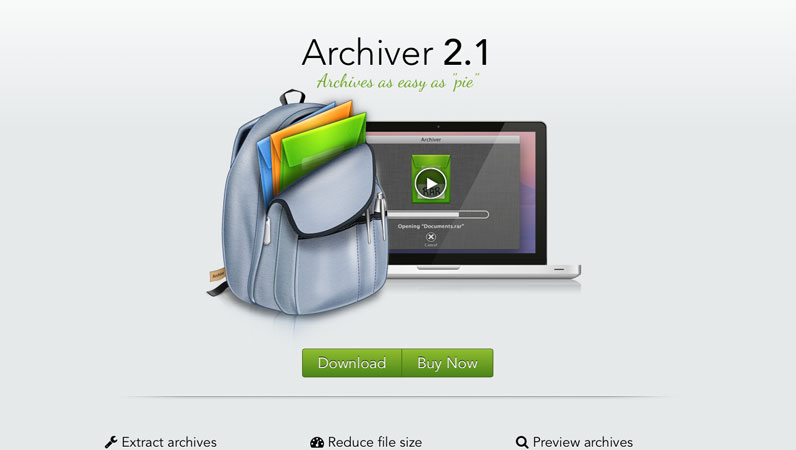
Archiver Website
It's just a good old zip archive so any of them will work perfectly fine
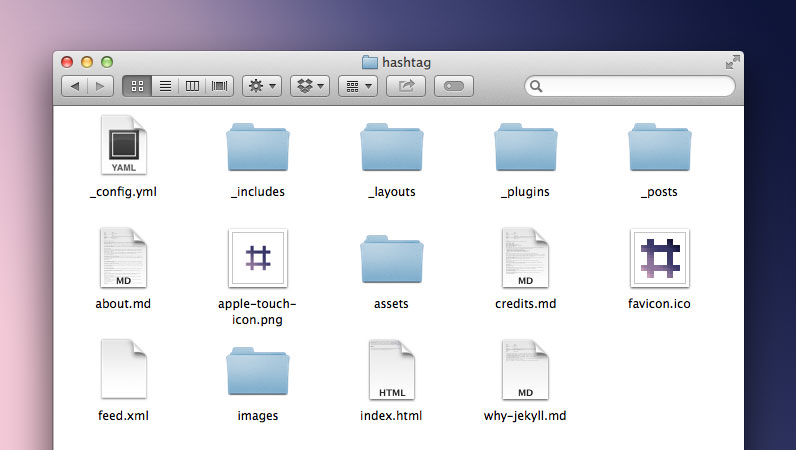
Visit WebsiteGood job! As you can see, the theme includes various different files and folders.
In order to understand the directory structure a little more and to get to know what each file and folder does, I’d like to refer you back to the Jekyll documentation which is rather useful and quite comprehensive.
To turn the theme and sample data into a static website now, please open up your terminal or console and change the directory (cd) you’re currently in to your unzipped themes folder.
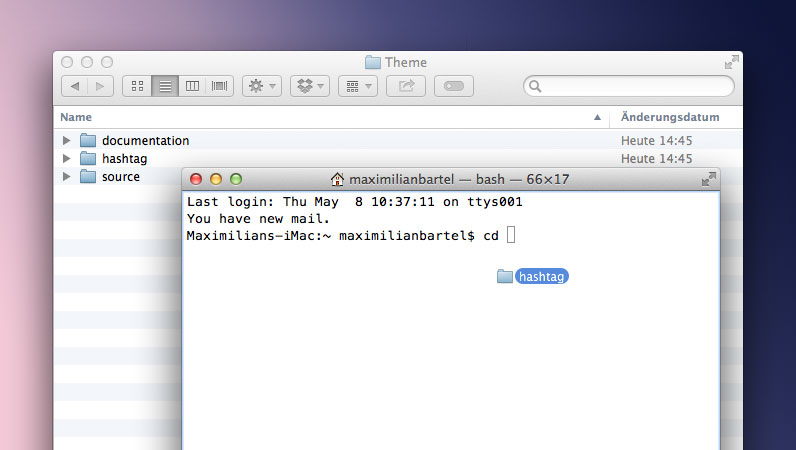
Change Directory
Useful hint: Just enter 'cd' into the terminal or console and drag the theme folder into the window before hitting enter — works perfectly at least on OSX
Now let the magic happen and build the site by running jekyll build or start a local webserver via jekyll serve.
A new folder called _site will be created which includes the entire website ready to be pushed to your webserver via FTP for example.
Please keep in mind that Jekyll sites are meant to run on webservers and not on file systems which means that links and references are relative. If you open up one of the generated HTML pages locally, they most likely won’t be styled at all, images won’t show up and links can be broken at least particularly.
That’s normal and intended so don’t panic!
Just push the contents of the _site folder to your webserver or start a local one and you’ll see that it works just the way it should. jekyll serve does that for you as well by the way and you can access it by opening http://localhost:4000 in your browser.